
Master The Art Of Using A Wood Router: A Beginner’s Guide To Precision And Creativity
Ever wondered how those smooth edges and intricate designs on wooden furniture are made? The secret lies in using a wood router. It’s not just a tool—it’s your key to unlocking endless possibilities in woodworking. Whether you’re a DIY enthusiast or a seasoned craftsman, mastering the art of using a wood router can elevate your projects to the next level.
Using a wood router might seem intimidating at first, but trust me, it’s easier than you think. With the right techniques, safety measures, and a bit of practice, you’ll be creating flawless edges, stunning patterns, and professional-grade finishes in no time. In this guide, we’ll break down everything you need to know about wood routers, from choosing the right one to executing advanced cuts.
This article is your go-to resource for all things related to wood routing. We’ll cover the basics, delve into advanced techniques, and share tips and tricks to help you avoid common mistakes. So grab your safety goggles, roll up your sleeves, and let’s dive in!
- Celine Dion Funeral A Celebration Of A Legendary Life
- Sarah Aspin A Journey Through Life Love And Resilience
Table of Contents
- What is a Wood Router?
- Types of Wood Routers
- Choosing the Right Router
- Safety Tips for Using a Wood Router
- Basic Techniques for Beginners
- Advanced Techniques for Pros
- Common Mistakes to Avoid
- Maintaining Your Wood Router
- Essential Tools and Accessories
- Frequently Asked Questions
What is a Wood Router?
A wood router is essentially a handheld power tool designed to shape, cut, or hollow out wood surfaces. It’s used for everything from creating decorative edges to making precise grooves and joints. Think of it as the Swiss Army knife of woodworking—it’s versatile, powerful, and indispensable.
Wood routers come in different shapes and sizes, but they all share the same basic function: spinning a bit at high speeds to carve through wood. The result? Clean, accurate cuts that would take forever to achieve by hand. Plus, routers are super customizable, meaning you can switch out bits to achieve different effects.
Why Use a Wood Router?
Here’s the thing: a wood router isn’t just for fancy designs. It’s also practical for functional purposes like making dadoes, rabbets, and mortises. If you’re building furniture, cabinetry, or even picture frames, a router will save you tons of time and effort. And let’s not forget the aesthetic appeal—those smooth, rounded edges on a table or the delicate patterns on a doorframe add a touch of elegance that’s hard to resist.
- Dak Prescotts First Wife A Deep Dive Into Their Relationship
- Elena Moussa The Journey Of A Multitalented Personality
Types of Wood Routers
Not all wood routers are created equal. Depending on your project requirements and skill level, you might need a specific type of router. Let’s break them down:
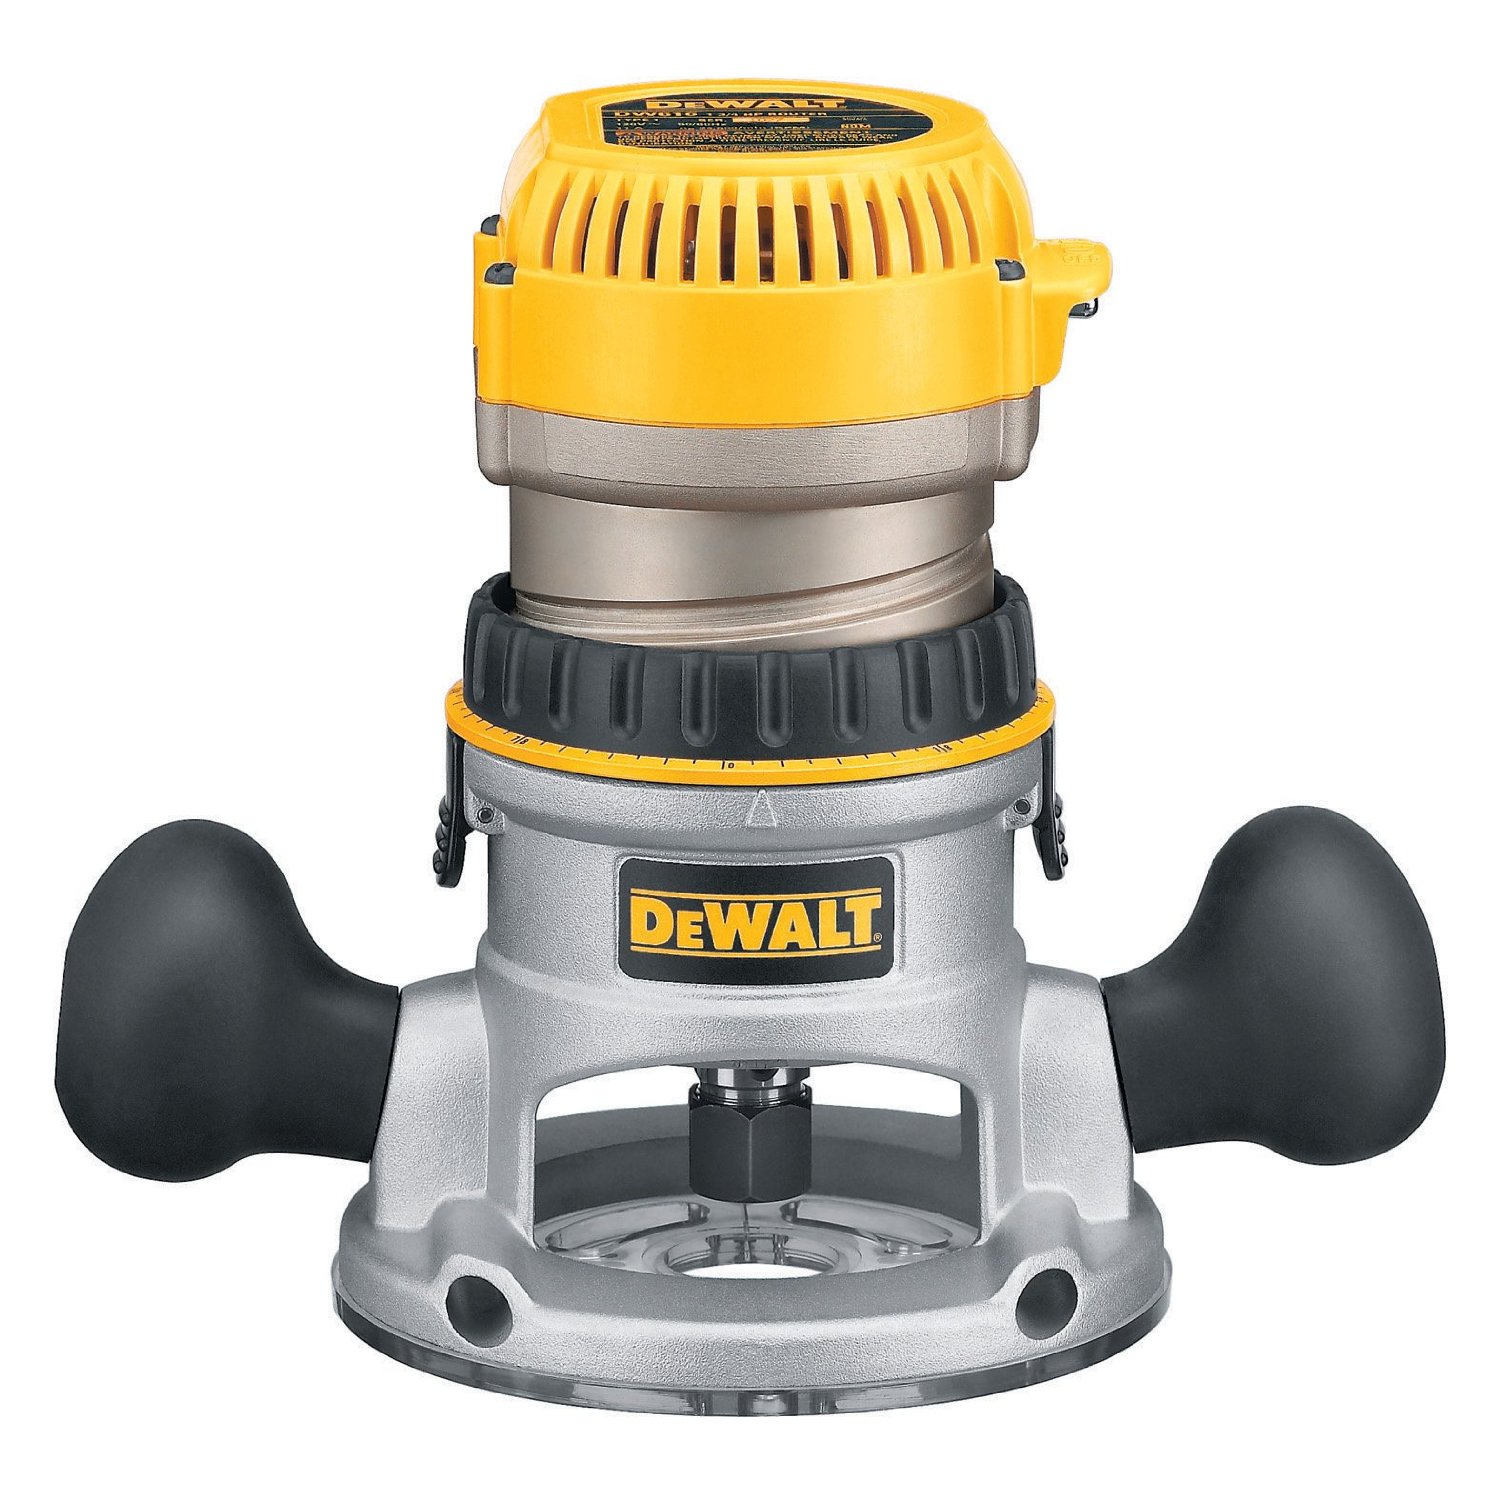
Fixed-Base Router
A fixed-base router is the most common type and is perfect for beginners. It’s easy to control and provides consistent depth settings. If you’re just starting out, this is probably the one you want.
Plunge Router
For more advanced projects, a plunge router is your best bet. It allows you to start and stop cuts mid-surface, making it ideal for things like inlays and mortises. However, it requires a bit more skill to handle properly.
Combo Router
As the name suggests, a combo router combines the features of both fixed-base and plunge routers. This gives you the flexibility to tackle a wide range of tasks without needing two separate tools.
Now, here’s a fun fact: according to a survey by the Woodworking Industry Association, over 70% of professional woodworkers prefer combo routers for their versatility. But hey, if you’re just starting out, a fixed-base router will serve you well.
Choosing the Right Router
Picking the right router can feel overwhelming, especially with so many options on the market. But don’t worry, we’ve got you covered. Here are some key factors to consider:
- Horsepower: More horsepower means more power, but also more weight. For most DIY projects, a router with 1.5 to 2.5 horsepower should suffice.
- Collet Size: Most routers come with 1/4-inch and 1/2-inch collets. If you plan on using larger bits, go for a router with a 1/2-inch collet.
- Weight: A heavier router offers better stability, but it can be tiring to handle for long periods. Find a balance that works for you.
- Features: Look for features like soft-start, variable speed control, and dust collection ports. These can make a huge difference in your workflow.
Pro tip: Always read reviews and check user ratings before making a purchase. Real-world feedback can give you valuable insights into a router’s performance and reliability.
Safety Tips for Using a Wood Router
Safety should always be your top priority when working with power tools. Here are some essential safety tips to keep in mind:
- Wear protective gear, including safety goggles, earplugs, and a dust mask.
- Make sure your workspace is well-lit and free of clutter.
- Always secure your workpiece with clamps or a router table to prevent it from moving while you work.
- Never force the router—let it do the work at its own pace.
- Keep your hands and fingers away from the bit while the router is running.
Remember, an accident can happen in the blink of an eye. Taking these precautions can help you stay safe and avoid injuries.
Basic Techniques for Beginners
Ready to get started? Here are some basic techniques to help you master the art of using a wood router:
Edge Profiling
Edge profiling is one of the simplest and most common uses for a wood router. It involves shaping the edges of a piece of wood to create a decorative finish. Popular profiles include roundovers, chamfers, and ogees.
Routing Grooves
Grooves are narrow channels cut into the surface of the wood. They’re often used for things like dadoes, rabbets, and dado joints. To route a groove, simply adjust the depth of your router and make multiple passes until you reach the desired depth.
Tip: Always route against the grain to prevent tear-out and achieve a cleaner cut.
Advanced Techniques for Pros
Once you’ve mastered the basics, it’s time to level up your skills with some advanced techniques:
Inlay Work
Inlay work involves cutting precise channels into the wood and filling them with contrasting materials like veneer or metal. This technique requires a steady hand and a lot of practice, but the results are worth it.
Mortise and Tenon Joints
Mortise and tenon joints are one of the strongest types of wood joints. Using a router, you can create perfectly fitted joints that will last a lifetime. Just remember to take your time and double-check your measurements before making any cuts.
Fun fact: The mortise and tenon joint has been used for centuries in traditional woodworking and is still considered the gold standard for strength and durability.
Common Mistakes to Avoid
Even the best woodworkers make mistakes from time to time. Here are some common errors to watch out for:
- Using dull bits: Dull bits can cause rough cuts and increase the risk of kickback. Always keep your bits sharp and clean.
- Overworking the router: Pushing the router too hard can lead to overheating and damage to both the tool and the workpiece.
- Forgetting to secure the workpiece: A moving workpiece can ruin your cut and put you in danger. Always use clamps or a router table.
By avoiding these mistakes, you’ll save yourself a lot of frustration and ensure better results.
Maintaining Your Wood Router
Proper maintenance is key to keeping your router in top condition. Here’s how you can take care of your tool:
- Clean the router after each use to remove dust and debris.
- Regularly check and tighten all screws and fasteners.
- Lubricate moving parts as needed to prevent wear and tear.
- Store the router in a dry, dust-free environment to protect it from moisture and rust.
Think of your router as a partner in crime. Treat it well, and it’ll reward you with years of reliable service.
Essential Tools and Accessories
No router is complete without the right accessories. Here are some must-haves for every woodworker:
- Router bits: A variety of bits for different cuts and profiles.
- Router table: Provides stability and control for more precise cuts.
- Template guides: Allows you to replicate patterns and designs accurately.
- Dust collection system: Helps keep your workspace clean and free of sawdust.
Investing in quality accessories can make a big difference in your woodworking projects. Don’t skimp on these essentials—they’re worth every penny.
Frequently Asked Questions
Q: Can I use a wood router on other materials besides wood?
A: Absolutely! Wood routers can also be used on plastics, metals, and even some types of stone. Just make sure to use the appropriate bit and adjust the speed accordingly.
Q: How often should I replace my router bits?
A: It depends on how much you use them, but as a general rule, replace your bits every 10-20 hours of use. Dull bits can cause poor cuts and increase the risk of accidents.
Q: Is it better to use a handheld router or a router table?
A: It depends on your project. Handheld routers offer more flexibility, while router tables provide greater precision and control. Many woodworkers use both depending on the task at hand.
Conclusion
Using a wood router opens up a world of possibilities in woodworking. From creating beautiful edges to executing complex designs, a router is an essential tool for anyone serious about crafting. By following the tips and techniques outlined in this guide, you’ll be well on your way to becoming a routing pro.
So what are you waiting for? Grab your router, fire it up, and start creating. And don’t forget to share your projects with us in the comments below—we’d love to see what you come up with!
Article Recommendations
- Hd Hub 4 U Movies Your Ultimate Destination For Highquality Films
- Emilia Clarke Husband Exploring The Love Life Of The Game Of Thrones Star


Detail Author:
- Name : Joanne Kohler
- Username : vjacobi
- Email : stone87@hotmail.com
- Birthdate : 1977-05-18
- Address : 17188 Spencer Orchard Apt. 834 New Murray, CO 62857
- Phone : 231.739.2950
- Company : Feest-Schmeler
- Job : Respiratory Therapy Technician
- Bio : Qui assumenda eligendi facilis enim esse doloremque dolorem et. Et qui in omnis qui nihil consectetur. Non non dignissimos dolorum minima sequi. Omnis labore adipisci sint dolores velit vel qui.
Socials
facebook:
- url : https://facebook.com/jenkinsa
- username : jenkinsa
- bio : Et eos et sint ducimus.
- followers : 3658
- following : 2469
tiktok:
- url : https://tiktok.com/@ashley5019
- username : ashley5019
- bio : Id est consectetur delectus enim voluptatem.
- followers : 214
- following : 1716
instagram:
- url : https://instagram.com/jenkinsa
- username : jenkinsa
- bio : Eum voluptatem ipsa aperiam ullam ipsa aliquam veniam. Quia nostrum omnis id et.
- followers : 1521
- following : 1407
